Yeah you read that right. I MADE.... Yes... craftiness has happened in my household this weekend. I am proud... :) You should be too!
Ok, so I googled to the ends of the Earth looking for a Christmas Countdown I liked, something I could replicate without paying an arm and a leg. This was my solution.

I found this wooden tree at Hobby Lobby of course, it was on sale, half price so all I paid for it was $5.00! It's about 3 feet tall and has a bunch of holes in it. I'm not sure what it was originally meant for but I made it to be something else.

Ok, so I picked out some green paper and traced each section of the tree, cut it out, at the bottom of each I added about an extra inch for overhang on each section.

I made little fringe cuts (the extra 1 inch) across the bottom of each section.

I curled the bottoms of the fringe up with a pencil so it was more 3 dimensional :)

I applied Mod Podge to the wood, then to the back of each paper section, put the paper on the wood and applied more Mod Podge over the top of the paper to make it glossy and hard.

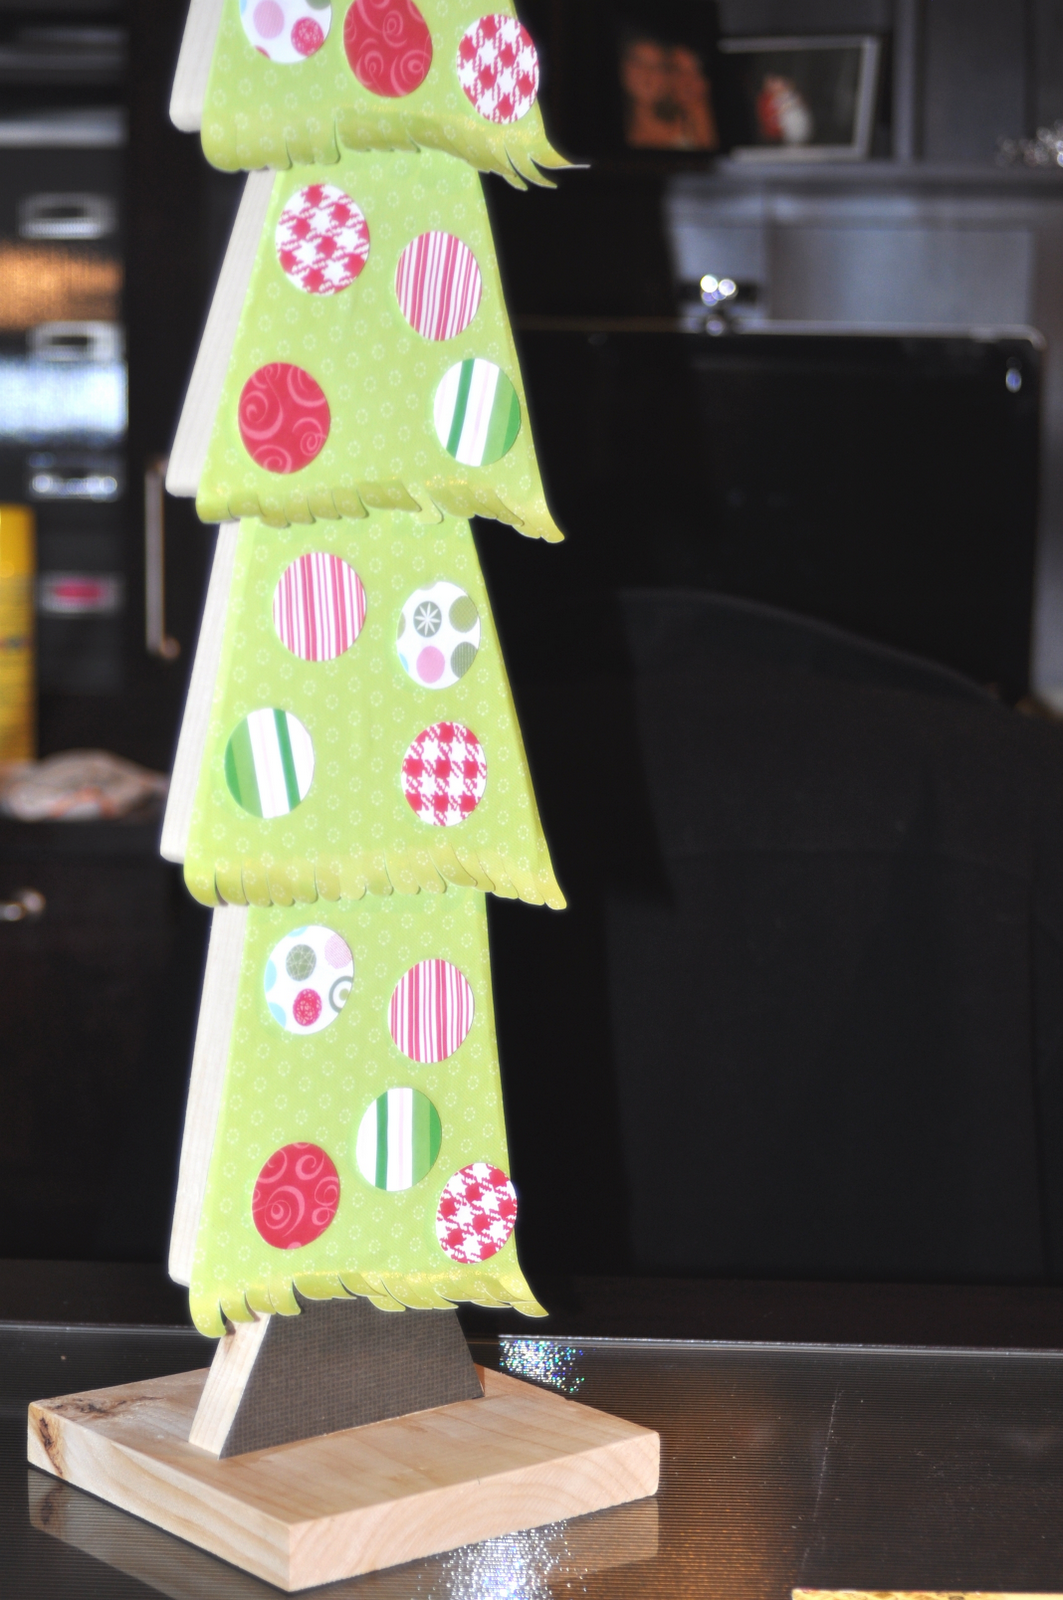
This is a good view of the tree fringe and the progress!

You can see how the gloss makes it look so much better!

I used my Cricut to cut out 25 white 1 and a quarter inch circles, I also picked 5 patterned papers and cut 5 of circles of each paper in the same size. White circles will have the countdown numbers, patterned papers will act as the tree ornaments!

These are the itty bitty numbers I cut with the Cricut, size was 3/4 inch.

I got out my red inkpad and rolled the white circles in the pad to make a red edge to pop out!

I Mod Podged the itty bitty numbers to the white circles, I had to use tweezers to get these on without messing them up and tearing them to shreds!

Tree covered, numbers done, I glued magnets to the back of the "ornament" circles. These magnets have one sticky side to them, the sticky side will go on the tree.

All complete and ready to go on the tree!

All the ornaments stuck to the tree.

A closer look of the ornaments. They look so cute!
Closer again, you can see the paper on the trunk too!

I also added magnets to the numbered circles. I put them over the ornaments that way we can take each number down as the day passes, each number will turn to an ornament and by the time we get to the Christmas the tree is fully decorated!

You get the idea! I hope!

The completely numbered Tree!

You like the present? It has a purpose.. really... it does!

I also made this little "present" to go with it. I made it big enough to fit the numbers in, so when the girls take down a number they put it in the present for safe keeping!

Here is my complete tree standing next to my Santa! I love it!
This really came out wayyyyy better than I expected and I LOVE it. I started this not really knowing how it would look or how I would do the countdown. I first wanted to make little doors but that was a little crazy. Then I wanted to use the hole it originally had but figured it would look messy.... So this is what I ended up with and I'm so glad! We will use this for many years to come! :)


